Documentation v1.0.0
We are constantly doing updates on the product and documentation, so please check the online version.
Installation
- You need
Node.js (at least 10.x version)installed on your machine. If you don't have it, you should install it - Clone project from github or download an archive
cdto your downloaded Argon app- Install necessary dependencies:
- Via node
npmpackage manager - Runnpm installon the project root - Via node
yarnpackage manager - Runyarn installon the project root
Configuration for PostgreSQL database and Redis data structure store
Via Docker
- Install Docker on your machine
- Run
docker-compose up -din a terminal on the project root. This will start 3 containers: - database(PostgreSQL) container;
- redis container - required for session management;
- haproxy container - required only for a staging/production setup;
Via another chosen solution.
- Install your PostgreSQL database
- Install your Redis server
- Change connection configuration, from your root
cdtoenv-filesfolder and change the following configurations with your own:
- For Posgresql connection:
DATABASE_URL=http://127.0.0.1:5432
                DATABASE_NAME=creativeTim
                DATABASE_USER=creativeTim
                DATABASE_PASSWORD=creativeTim
- For Redis connection:
REDIS_HOST=localhost
                REDIS_PORT=6379
Migrations and Seeds
- For database tables structure, in project root run:
npm knex migrate:latestoryarn knex migrate:latestif you are usingyarnas the default package manager - To create a default user run:
npm knex seed:runoryarn knex seed:runif you are usingyarnas the default package manager
Run the application
- For starting the application, the following script (defined in `package.json` under `scripts`) must be called
- via npm:
npm run startornpm run devfor starting the development environment, which has livereload enabled; - via yarn:
yarn startoryarn devfor starting the development environment, which has livereload enabled
Usage
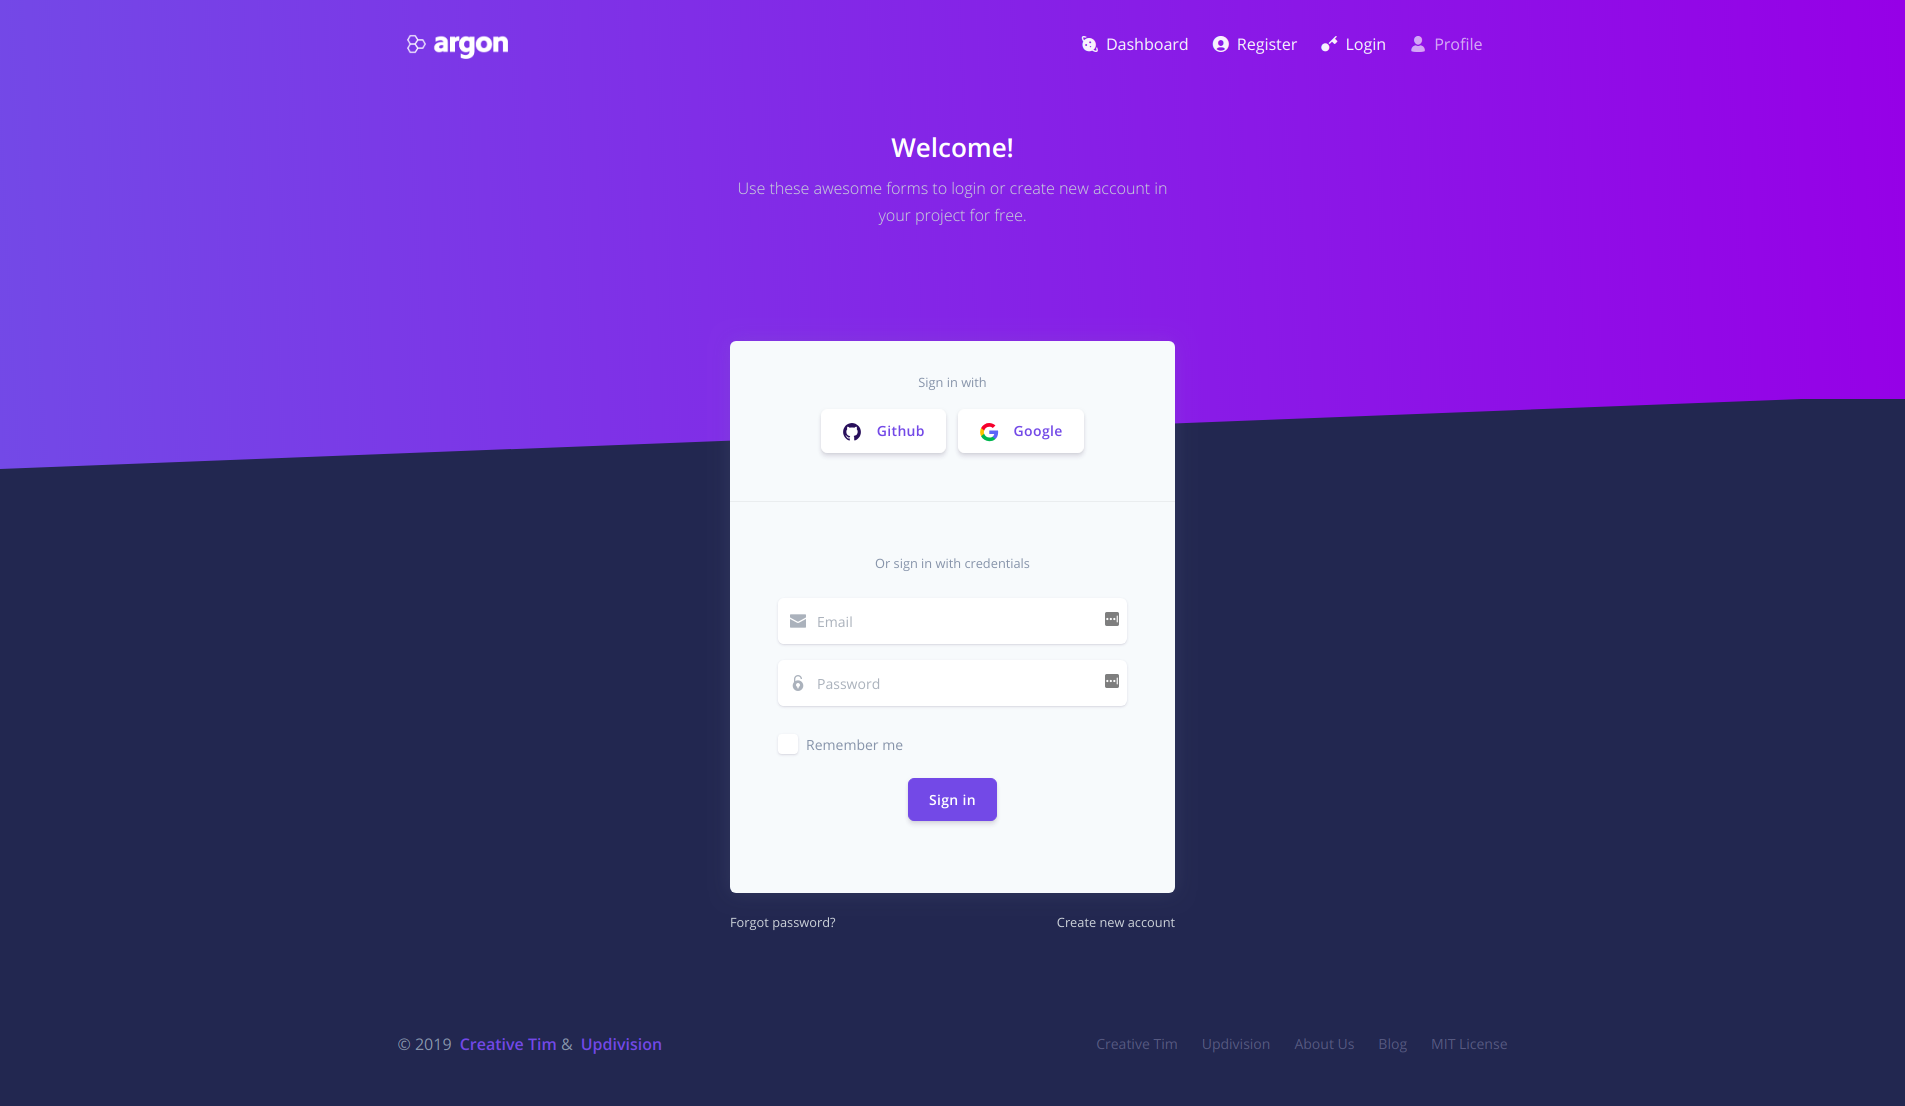
Register a user or login using admin@argon.com and secret and start testing the preset (make sure to run the migrations and seeders for these credentials to be available).
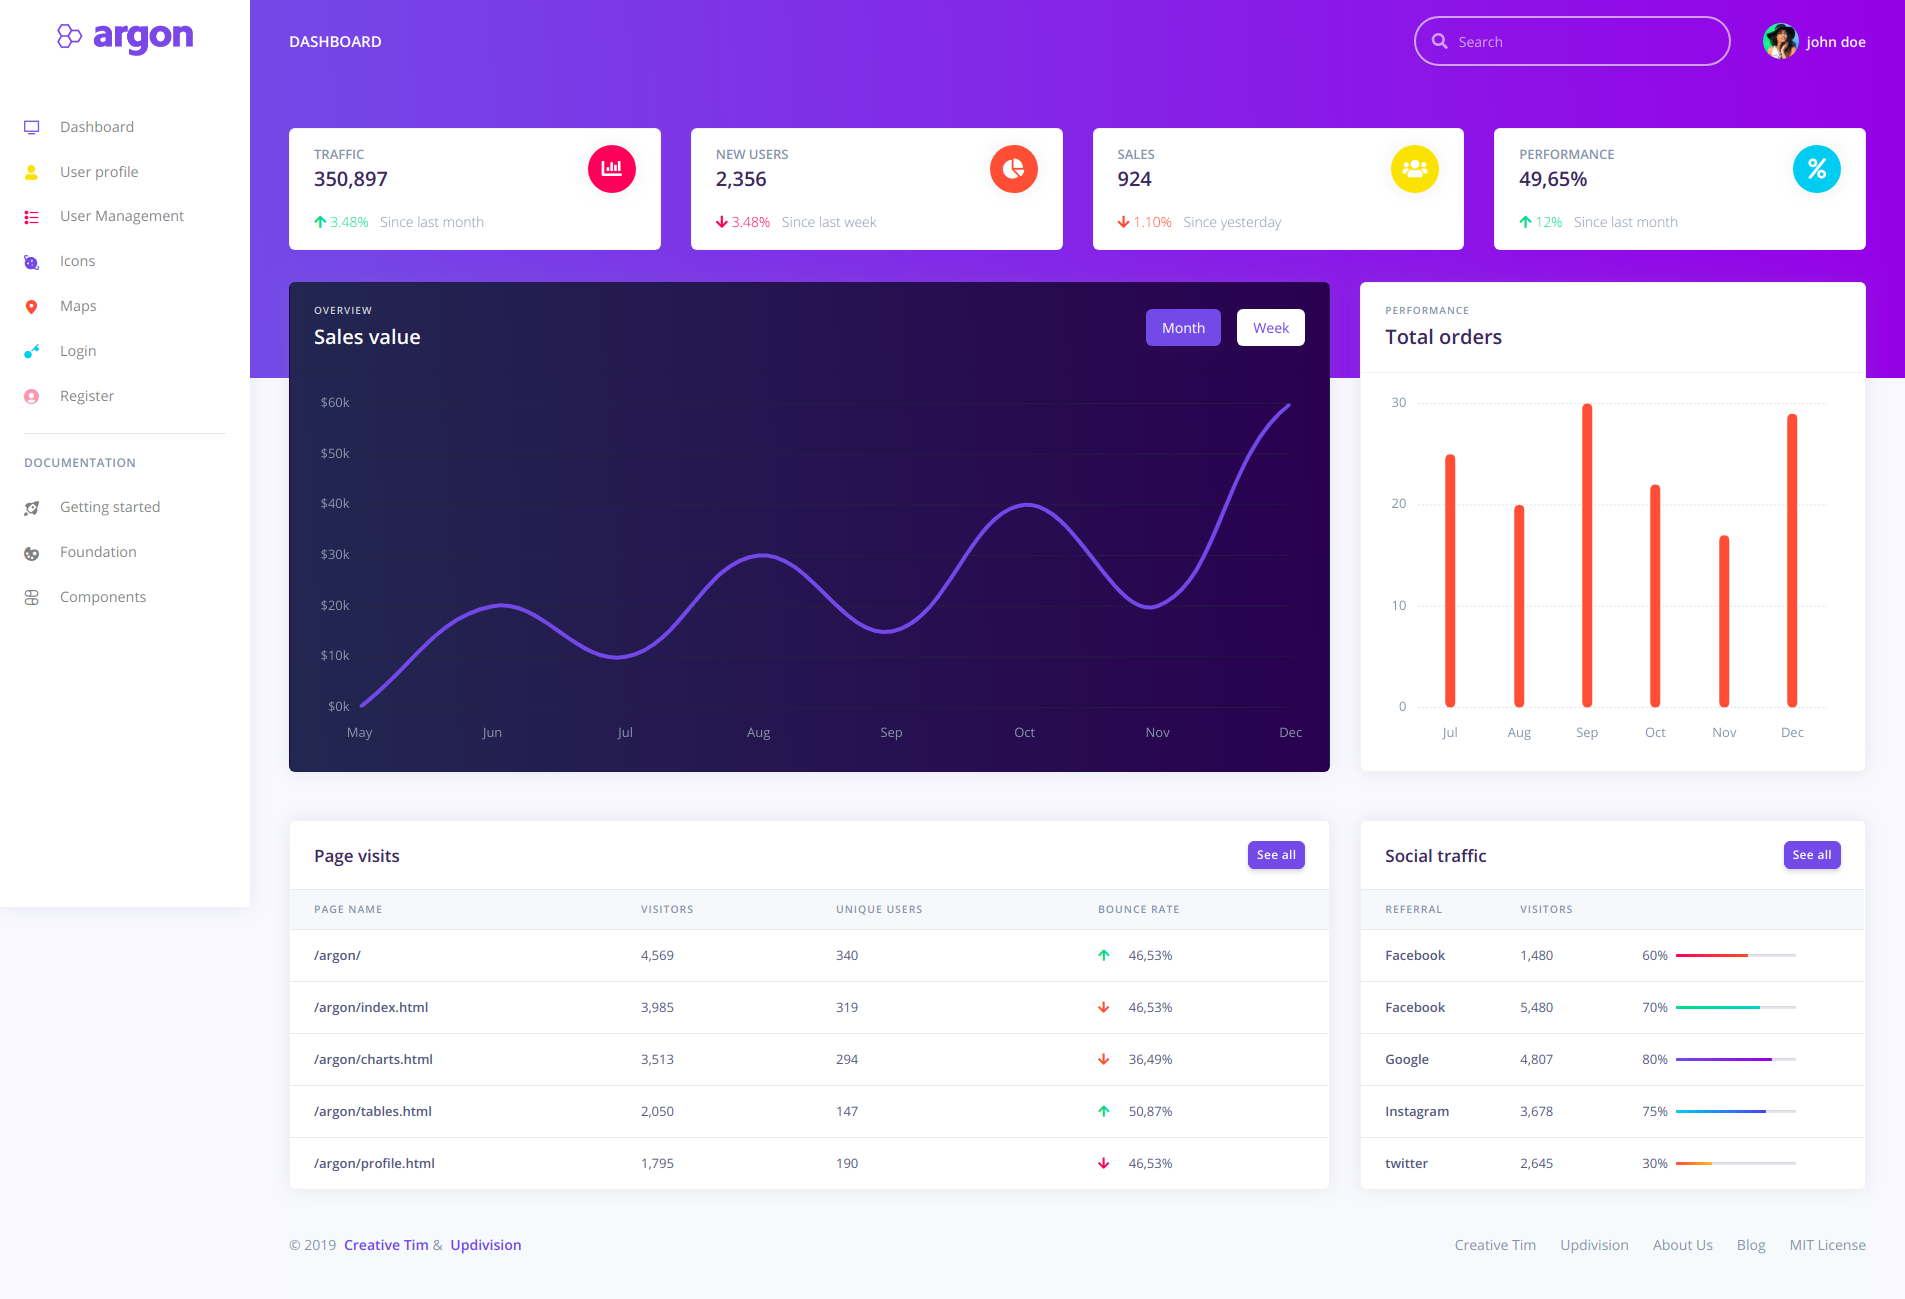
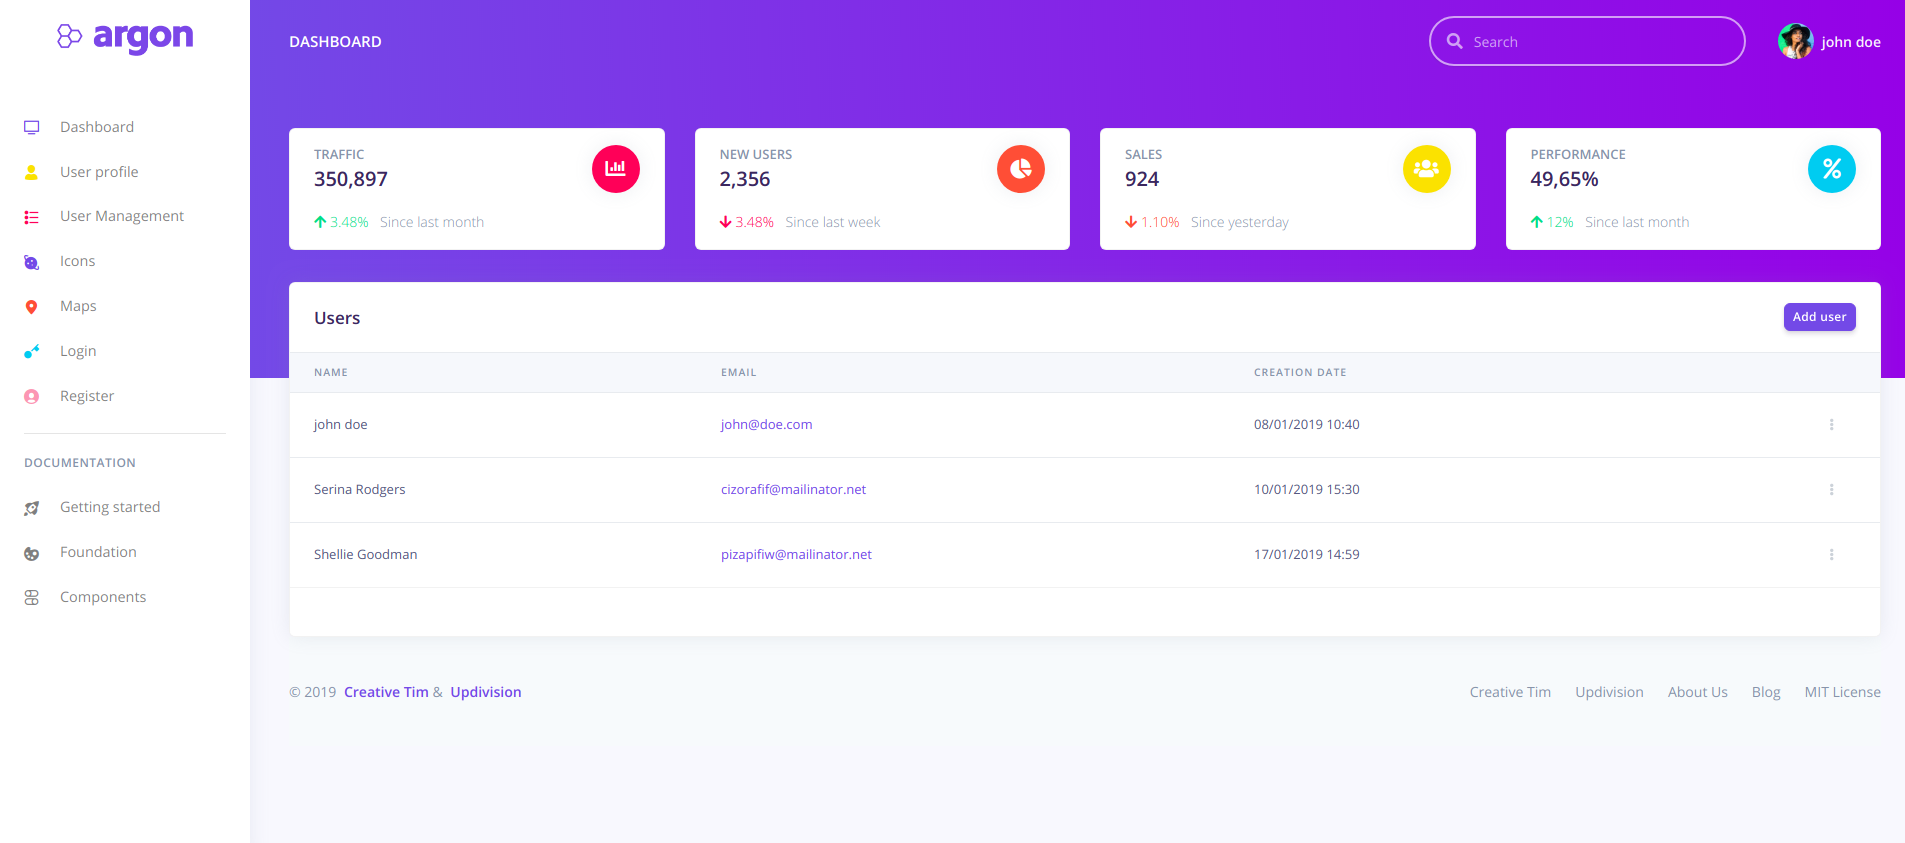
Besides the dashboard and the auth pages this preset also has an edit profile page. Keep in mind that all the features can be viewed once you login using the credentials provided above or by registering your own user.
Features
For each feature code cd into features folder, and you will found a folder for each feature, mostly each folder contain:
- A
routes.jsfile that usually containsGETandPOSTrequests, for eg the profile router looks like this:
const { wrap } = require('async-middleware');

                const requestBodyValidation = require('./commands/verify-request-body');
                const updateUserInfo = require('./commands/update-user-info');

                const { loadPage } = require('./commands/profile');

                module.exports = (router, middlewares = []) => {
                  router.get('/profile', middlewares.map(middleware => wrap(middleware)), wrap(loadPage));

                  router.post('/update-profile-info', wrap(requestBodyValidation), wrap(updateUserInfo));

                  return router;
                };
- A
repository.jsfile that contains feature database queries - A
commandsfolder where you can find the all feature functionality functions, for eg the one for login template rendering looks like this:
function loadPage(req, res) {
                  debug('login:servePage', req, res);
                  res.render('pages/login');
                }
- A
constants.jsfile, to store all your static variables, for eg:
const USERNAME_PASSWORD_COMBINATION_ERROR = 'These credentials do not match our records.';
                const INTERNAL_SERVER_ERROR = 'Something went wrong! Please try again.';
All feature routes are mounted in routes/index.js from the project root.
For the Front-end side:
Templates
- You can find all the templates in
viewsfolder where you will find:
- The
layout.ejsfile, the main template layout. - A
pagesfolder with all the pages templates - A
partialsfolder with the common components for eg. header, footer, sidebar
Change log
Please see the changelog for more information on what has changed recently.
Credits
License
Screen shots